Integrate Sitejabber and Neto
From Neto’s Website
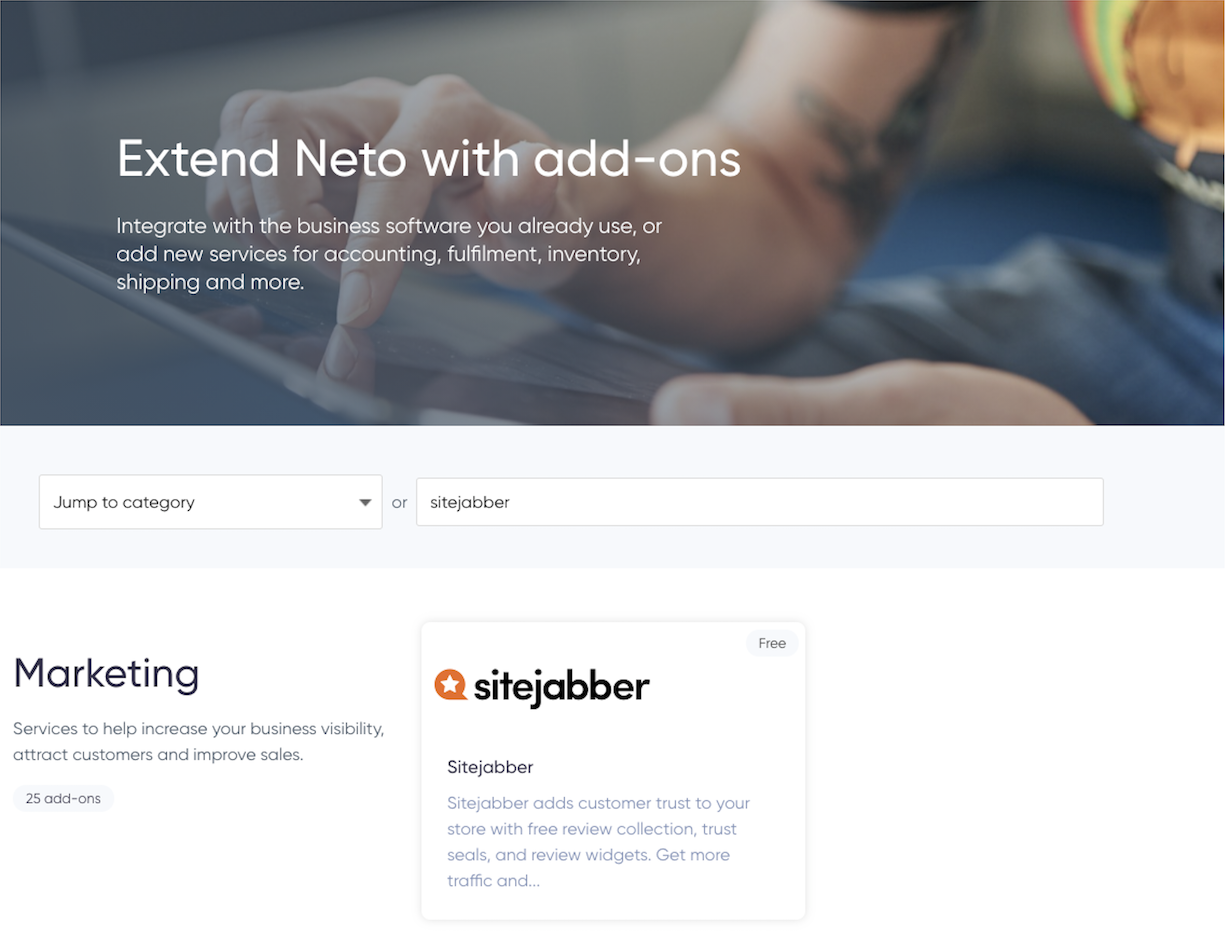
Search Add-Ons
From your Neto Dashboard
- In your Neto control panel, click on the Addons menu.
- In the Marketing section, find the Sitejabber add-on and click the Install button.
- Confirm the installation and you’ll be directed to the Sitejabber website to finish the installation.
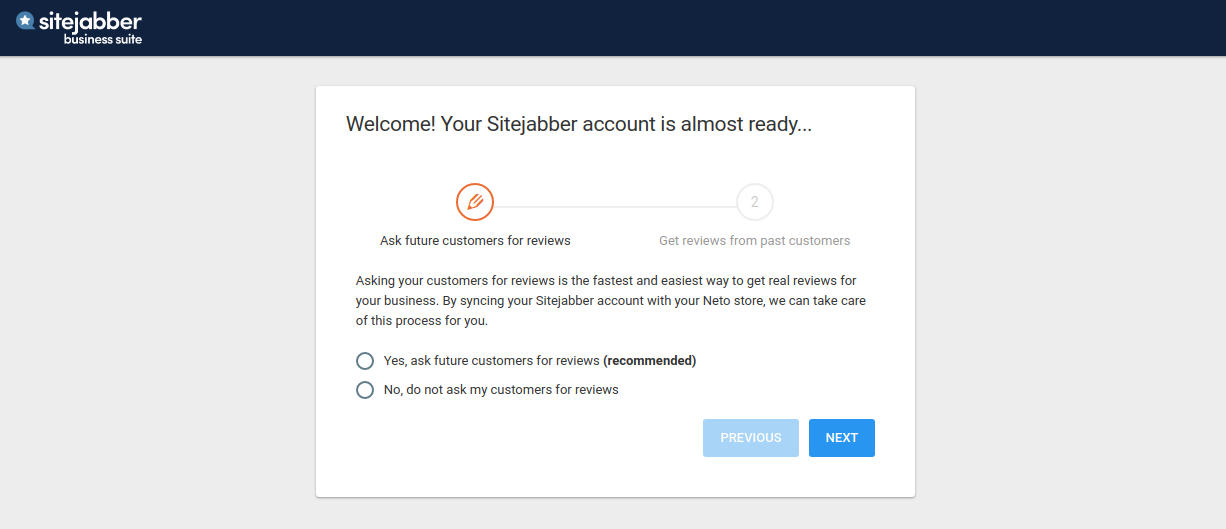
- Specify whether you would like to collect reviews from future customers (recommended). Your customers will be automatically emailed a feedback survey.
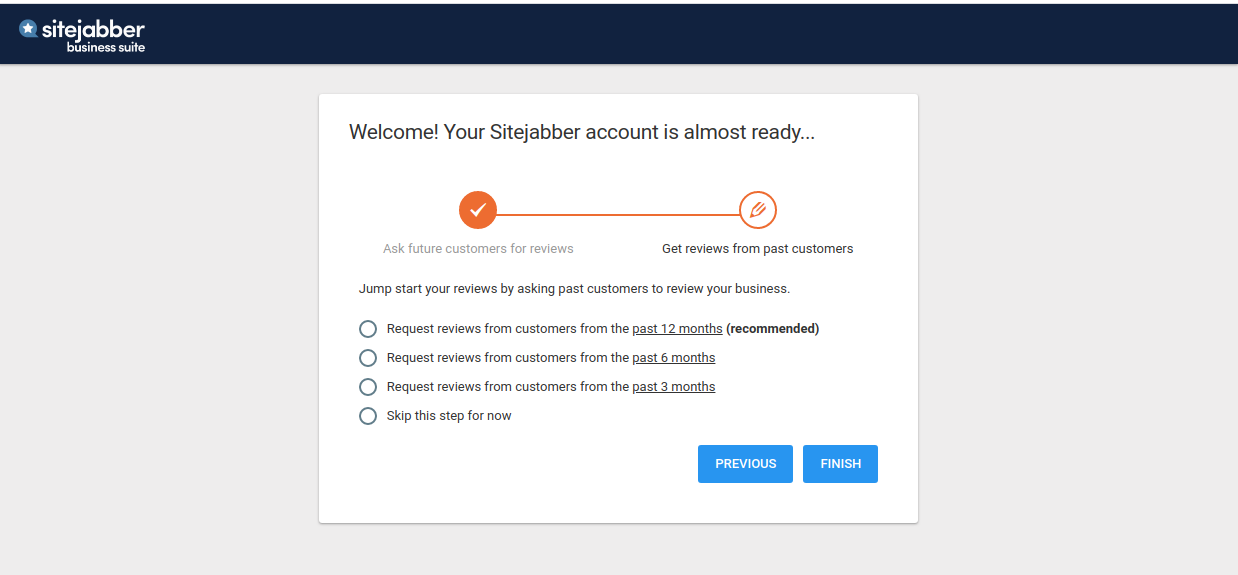
- Specify whether you would like to collect reviews from previous customers. This is an easy way to get a head start on your review collection.
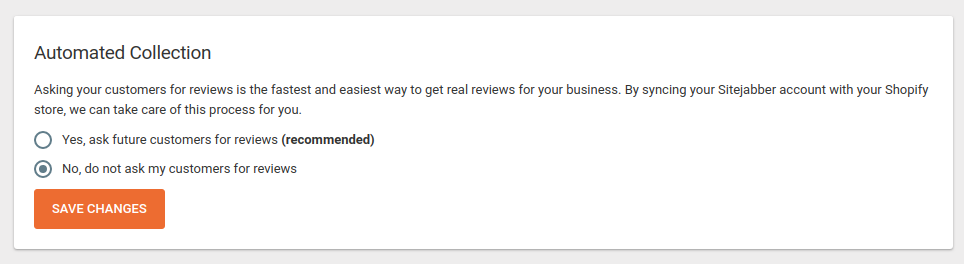
You will be able to change your review collection settings at any time inside the Sitejabber dashboard:
Installing Instant Feedback
- From your admin panel, navigate to Settings & tools > All settings & tools
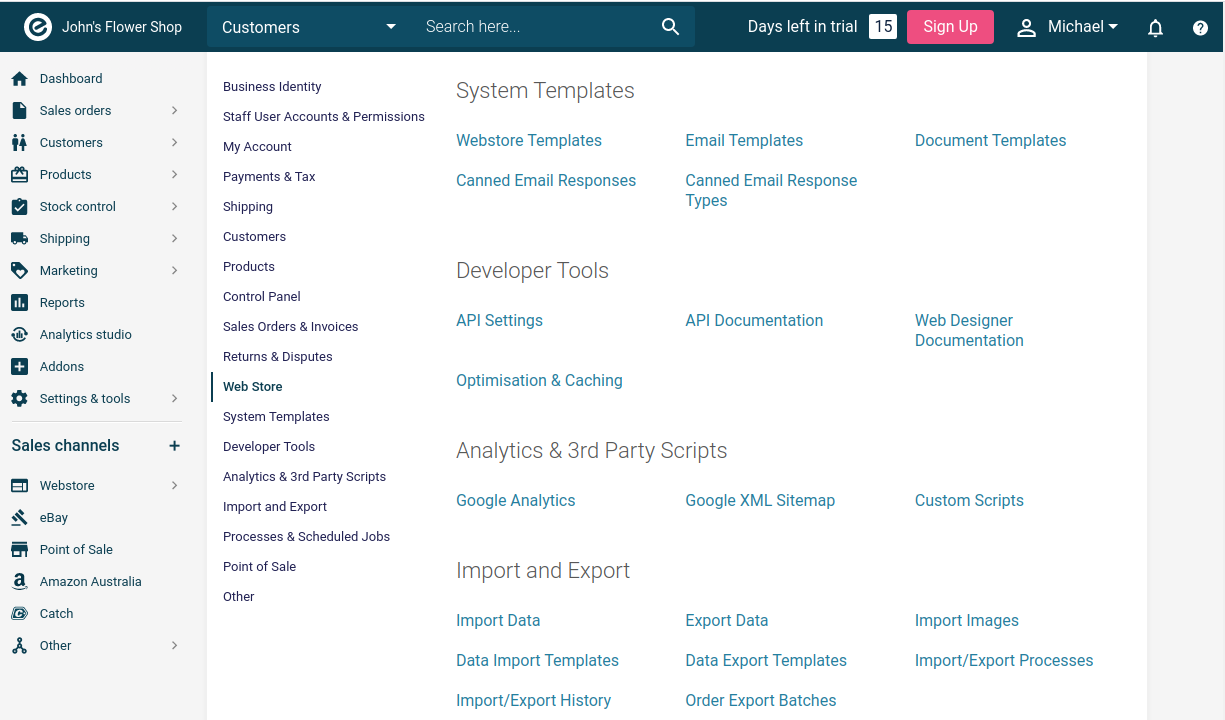
- Go to “Analytics & 3rd Party Scripts” section
- Click on the “Custom Scripts” link
- Click on the “Add new” button
- Insert a name of your choice on “Name”
- Select the “Purchase Confirmation (Thank You Page)” tab
- Paste the snippet code into the text area
- Click on “Save”
Without Product Information. Below is an example only:
[%show_order id:[@order_id@]%][%param *body%]
<div class="stjr-instant-feedback"></div>
<script>
document.querySelector("body").addEventListener("STJR.instantFeedbackWidgetLoaded", function () {
  STJR.setConfig({
    user: { first_name: "[@bill_first_name@]", last_name: "[@bill_last_name@]", email: "[@bill_email@]" },
    order_date: "[@date_placed@]",
    order_id: "[@order_id@]",
  });
});
</script>
<script>(function(d,s,id,c){var js,rC=[],uRC=[],r=0;Array.from(document.querySelectorAll('[class*="stjr-"]')).forEach(r=>{rC=[...rC,...Array.from(r.classList).filter((cl)=>{return /^stjr-/.test(cl);})]});uRC=[...new Set(rC)];t=d.getElementsByTagName(s)[0];js=d.createElement(s);js.id=id;js.src='https://www.sitejabber.com/js/v2/{API-KEY}/widgets.js'+(uRC.length ? '?widget-classes=' + uRC.join("|") : '?widget-classes=stjr-base')+'';js.onload=js.onreadystatechange=function(){if(!r&&(!this.readyState||this.readyState[0]=='c')){r=1;c();}};t.parentNode.insertBefore(js,t);}(document,'script','sj-widget',function(){}));</script>
[%/param%][%/show_order%]
With Product Information. Below is an example only:
[%show_order id:[@order_id@]%][%param *body%]
<div class="stjr-instant-feedback"></div>
<script>
var products=[];
    [%product sku:'[@sku@]'%][%param *body%]
    products.push({ brand:'[@brand@]',
                    images:'[@config:home_url@][%asset_url type:'product' id:[@sku@] thumb:'full'/%]',
                    price:'[@price@]',
                    product_link:'[@url@]',
                    sku:'[@sku@]',
                    title:'[@model@]' });
    [%/param%][%/product%]
document.querySelector("body").addEventListener("STJR.instantFeedbackWidgetLoaded", function () {
  STJR.setConfig({
    language: 'en',
    user: {
      first_name: "[@bill_first_name@]",
      last_name: "[@bill_last_name@]",
      email: "[@bill_email@]",
    },
    products: products,
    order_date: "[@date_placed@]",
    order_id: "[@order_id@]",
  });
});
</script>
<script>(function(d,s,id,c){var js,rC=[],uRC=[],r=0;Array.from(document.querySelectorAll('[class*="stjr-"]')).forEach(r=>{rC=[...rC,...Array.from(r.classList).filter((cl)=>{return /^stjr-/.test(cl);})]});uRC=[...new Set(rC)];t=d.getElementsByTagName(s)[0];js=d.createElement(s);js.id=id;js.src='https://www.sitejabber.com/js/v2/{API-KEY}/widgets.js'+(uRC.length ? '?widget-classes=' + uRC.join("|") : '?widget-classes=stjr-base')+'';js.onload=js.onreadystatechange=function(){if(!r&&(!this.readyState||this.readyState[0]=='c')){r=1;c();}};t.parentNode.insertBefore(js,t);}(document,'script','sj-widget',function(){}));</script>
[%/param%][%/show_order%]
Adding Product Widgets
Step 1: Open Neto Settings

Step 2: Webstore Templates
Scroll down to the System Templates section and click into Webstore Templates.
Adding Script Loader
In the footer file, found here: Web Themes > theme_name > templates > footers > template.html, add the below code and replace “{API-KEY}” with your Client ID found in your dashboard. Below is an example only:
<script>(function(d,s,id,c){var js,rC=[],uRC=[],r=0;Array.from(document.querySelectorAll('[class*="stjr-"]')).forEach(r=>{rC=[...rC,...Array.from(r.classList).filter((cl)=>{return /^stjr-/.test(cl);})]});uRC=[...new Set(rC)];t=d.getElementsByTagName(s)[0];js=d.createElement(s);js.id=id;js.src='https://www.sitejabber.com/js/v2/{API-KEY}/widgets.js'+(uRC.length ? '?widget-classes=' + uRC.join("|") : '?widget-classes=stjr-base')+'';js.onload=js.onreadystatechange=function(){if(!r&&(!this.readyState||this.readyState[0]=='c')){r=1;c();}};t.parentNode.insertBefore(js,t);}(document,'script','sj-widget',function(){}));</script>Adding Product Rating Widget
To add the rating widget to the product category pages, navigate to Web Themes > theme_name > templates > thumbs > product > template.html, and click to edit. Find the card-title element and add the following code below it.
To add this widget to the main product page, modify the following file instead : Web Themes > theme_name > templates > products > include > header.template.html. Find the dropdown element and add the following code above it.
<div class="stjr-product-rating" data-product-id="[@sku@]" style="margin-bottom:10px"></div>Adding Product Review Widget
To add the review widget to the product category pages, navigate to Web Themes > theme_name > templates > products > template.html, and click to edit.
Add the code snippet below as the last element of <div itemscope itemtype="http://schema.org/Product">
<div class="row mt-4">
  <div class="stjr-product-review-page" data-product-id="[@sku@]"></div>
  <script id="ProductJson-product-template" type="application/json">{"id":"[@sku@]","title":"[@model@]","vendor":"[@brand@]","price":"[@price@]","images":["[@config:home_url@][@thumb@]"]}</script>
</div>
Reach out to biz@sitejabber.com with any questions or issues relating to installation.